
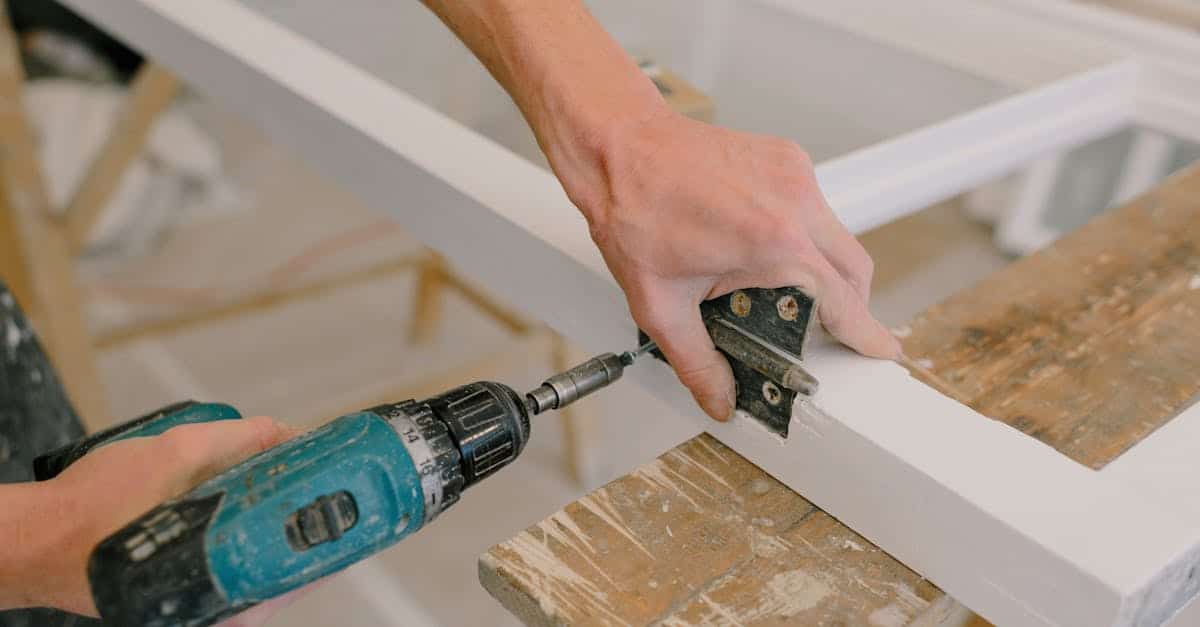
Got old furniture gathering dust? Don’t toss it – transform it! Your worn-out pieces hold hidden potential waiting to be unleashed through creative DIY furniture hacks and budget-friendly makeovers.
This guide unlocks the secrets to breathing new life into tired furniture pieces without breaking the bank. You’ll discover practical techniques to:
- Master the art of furniture painting for professional-looking results
- Learn beginner-friendly upholstery methods
- Create custom designs using decals and stencils
- Make smart repairs to ensure lasting transformations
Whether you’re eyeing that vintage dresser at the thrift store or looking to refresh your existing pieces through affordable furniture upgrades, we’ve got you covered. These upcycling furniture techniques work on everything from wooden chairs to fabric headboards.
Ready to channel your inner designer? Let’s explore how simple materials like paint, fabric, and decorative elements can turn outdated pieces into stunning statement furniture that reflects your personal style – all while keeping your wallet happy.
Why Upcycle Furniture?
Refurbishing used furniture creates a significant environmental impact. Each year, 12 million tons of furniture end up in landfills – that’s enough to fill over 5,000 Olympic-sized swimming pools. By giving old pieces a second life, you’re actively reducing waste and helping protect our planet.
The magic of thrift store furniture flips lies in their unique potential. Every piece tells a story, waiting to be transformed into something spectacular. That vintage dresser hiding in the corner? It could become a stunning statement piece in your bedroom. The worn-out coffee table? A fresh coat of paint might turn it into your living room’s centerpiece.
Cost Savings
The cost savings are remarkable:
- A new solid wood dresser: $800-$1,500
- Thrifted dresser + supplies: $150-$300
- Your potential savings: $650-$1,200
Beyond Financial Benefits
Beyond the financial benefits, refurbishing used furniture allows you to:
- Create one-of-a-kind pieces that reflect your style
- Learn valuable DIY skills
- Support local thrift stores and community initiatives
- Preserve craftsmanship from earlier eras
- Avoid mass-produced furniture
The Thrill of the Hunt
The thrill of the hunt adds an extra layer of excitement. Each thrift store visit becomes a treasure hunt, where you might discover hidden gems with amazing potential. That satisfaction of spotting a diamond in the rough? It’s priceless.
Essential Tools and Materials for DIY Furniture Hacks
Your DIY furniture transformation journey starts with the right tools and materials. Here’s your essential toolkit:
Must-Have Tools:
- Electric drill with various bits
- Sandpaper (80-220 grit)
- Staple gun and staples
- Paint brushes (various sizes)
- Foam rollers
- Screwdrivers
- Measuring tape
- Utility knife
- Safety gear (gloves, goggles, mask)
Basic Materials:
- Primer
- Paint (chalk, milk, or acrylic)
- Wood filler
- Fabric glue
- Drop cloths
- Tack cloth
- Steel wool
- Wood cleaner
Optional but Useful:
- Heat gun (for removing old paint)
- Electric sander
- Paint sprayer
- Fabric scissors
- Upholstery foam
- Decorative hardware
- Contact paper
- Stencils
These affordable tools and materials create endless possibilities for your budget DIY furniture hacks. Many items can be found at local hardware stores or online marketplaces. Start with basic tools and expand your collection as you tackle more complex creative furniture projects.
Transforming Old Furniture with Paint
Selecting the right paint transforms your furniture piece from dull to dazzling. Each surface requires specific paint types for lasting results:
Wood Surfaces:
- Chalk paint – Creates a vintage, matte finish
- Milk paint – Perfect for raw wood with natural variations
- Acrylic paint – Offers durability and shine
- Oil-based paint – Provides maximum protection
Metal Surfaces:
- Rust-oleum primer + paint
- Hammered finish paint
- Metal-specific enamel
Fabric Surfaces:
- Fabric spray paint
- Acrylic paint + fabric medium
- Chalk paint (diluted)
Pro Tips for Flawless Results:
- Sand surfaces lightly between coats
- Apply thin layers – 2-3 coats beat one thick layer
- Let each coat dry completely
- Use foam rollers for smooth finishes
- Add fabric medium to regular paint (1:1 ratio) for soft fabric results
Paint Application Techniques:
- Distressed Look: Sand edges after paint dries
- Color Blocking: Use painter’s tape for clean lines
- Ombre Effect: Blend two paint colors while wet
- Textured Finish: Add sand to paint for grip
Remember to work in a well-ventilated area and test paint on a hidden spot first. Proper preparation prevents peeling – clean surfaces thoroughly and prime when needed.
Giving Your Furniture a Fresh Look through Upholstery
Reupholstering furniture breathes new life into tired pieces while maintaining their unique character. Let’s explore both traditional and no-sew methods to transform your furniture.
Traditional Reupholstering Steps:
- Remove existing fabric
- Pull out staples using pliers
- Keep old fabric as pattern template
- Take photos of the original piece
- Prepare the base
- Check padding condition
- Replace foam if compressed
- Add extra batting for comfort
- Cut and attach new fabric
- Lay fabric pattern-side down
- Start from the center
- Work outward, pulling fabric tight
- Secure with staples every 2-3 inches
Quick No-Sew Solutions:
- Fabric glue method
- Apply adhesive to edges
- Press fabric firmly
- Let dry 24 hours
- Check out these no-sew projects
- Staple gun technique
- Fold raw edges under
- Create crisp corners
- Double-check tension
- Cover staples with trim
Creative Tips:
- Mix patterns for dining chairs
- Add piping for professional finish
- Create tufting with buttons
- Use outdoor fabric for durability
Want extra inspiration? Browse these furniture upcycling ideas for unique approaches to reupholstering your pieces.
Remember to choose fabric based on usage – durable materials for frequently used pieces, decorative options for accent furniture. A yard of fabric typically covers one dining chair seat, while larger pieces need 5-15 yards depending on size.
Personalizing Furniture with Decals, Stencils, and Patterns
Adding artistic flair to your furniture doesn’t require professional skills. Decals and stencils offer a foolproof way to create stunning designs on any flat surface.
Choosing the Right Decals
- Pick decals that complement your furniture’s size
- Select weather-resistant options for outdoor pieces
- Test adhesion on a small, hidden area first
- Consider removable decals for temporary designs
Decal Application Tips
- Clean the surface thoroughly with rubbing alcohol
- Mark your desired placement with masking tape
- Start from the center and work outward
- Use a credit card or squeegee to remove air bubbles
- Peel backing paper at a 45-degree angle
Stenciling Made Simple
- Secure stencils with painter’s tape
- Use a dense foam roller for clean lines
- Dab excess paint on paper towels
- Apply paint in thin, even layers
- Remove stencil while paint is still wet
Creative Pattern Ideas
- Geometric shapes for modern pieces
- Floral designs for vintage items
- Moroccan patterns for exotic flair
- Stripes for minimalist style
- Custom monograms for personalization
Pro Tips
- Practice stenciling on scrap material first
- Layer different stencils for unique effects
- Use metallic paints for added glamour
- Create ombre effects with gradient colors
- Mix patterns for eclectic designs
Your furniture can become a unique art piece with these simple techniques. Experiment with different combinations of decals and stencils to discover your signature style.
Budget-Friendly Makeover Ideas Beyond Paint and Fabric
Ready to explore creative furniture transformations without breaking out the paintbrush? These innovative techniques can breathe new life into your pieces:
1. Washi Tape Magic
- Create geometric patterns on drawer fronts
- Design custom borders around mirror frames
- Add colorful stripes to table legs
- Layer different patterns for unique effects
2. Ombré Finishes
- Mix varying shades of wood stain
- Apply from darkest to lightest
- Blend while still wet
- Seal for lasting results
3. Hardware Updates
- Replace drawer pulls with vintage finds
- Add leather straps as handles
- Create rope pulls for a coastal vibe
- Mix metallic finishes for eclectic charm
4. Natural Elements
- Press dried flowers under glass tabletops
- Add rope wrapping to chair legs
- Create driftwood accents
- Apply bamboo panels to cabinet doors
5. Paper and Texture
- Decoupage with vintage maps
- Apply textured wallpaper to drawer fronts
- Create faux marble effects with tissue paper
- Use book pages for literary charm
6. Alternative Materials
- Cover surfaces with copper sheets
- Apply cork panels for pin-board functionality
- Transform surfaces with concrete overlay
- Add mirror tiles for glamorous effects
These budget-conscious techniques create stunning transformations without traditional methods. Each approach offers unique possibilities to personalize your furniture while keeping costs low.
Repairing Before Refurbishing: Why It Matters + Common Repairs You Can Do Yourself!
A successful furniture makeover starts with proper repairs. Think of it like building a house – you need a solid foundation before adding decorative elements. Here are essential furniture repair tips for DIYers to tackle before starting your transformation:
Common Issues and Quick Fixes
- Wobbly Legs
- Tighten all screws and bolts
- Replace missing hardware
- Add wood glue to loose joints
- Insert wooden shims for stability
- Surface Damage
- Sand rough patches with medium-grit sandpaper
- Fill holes with wood putty
- Repair scratches using matching wood markers
- Treat water rings with mayonnaise or iron method
- Structural Problems
- Reinforce weak spots with corner brackets
- Replace broken drawer slides
- Fix split wood with wood glue and clamps
- Add support blocks to sagging shelves
Pro Tips for Better Results
- Test repairs by applying gentle pressure
- Let adhesives dry completely (24 hours minimum)
- Keep original hardware in labeled bags
- Document your repair process with photos
- Work in a well-ventilated area
- Use appropriate safety gear (gloves, goggles)
These basic furniture repair tips for DIYers create a strong foundation for your makeover project. Proper repairs extend your furniture’s life and ensure your creative efforts won’t go to waste due to underlying damage.
Real-Life Inspiration from Successful DIY Projects
Here are some amazing furniture makeovers that demonstrate the power of DIY upcycling!
1. Vintage Dresser Revival
A $50 thrift store dresser transformed into a stunning statement piece through chalk paint and new hardware. The original dark wood finish was replaced with a soft sage green color, while brass pulls added a modern touch. This project cost under $100 and now looks like a high-end piece worth $500+.
2. Mid-Century Cabinet Makeover
An old laminate cabinet received new life with wood veneer application and hairpin legs. The creator added sliding doors using plywood and a simple track system. Total cost: $150, saving hundreds compared to similar retail pieces.
3. Creative Community Showcases
Find endless inspiration from fellow DIY enthusiasts:
- Instagram: Follow #furnitureflip and #furnituremakeover
- Pinterest: Search “furniture before and after”
- Reddit: Join r/furnitureupcycling
- TikTok: Explore #furniturerestoration
4. Share Your Journey
Your transformation story could inspire others! Document your process with:
- Clear before photos
- Progress shots of each step
- Detailed after images
- List of materials used
- Time invested
- Total cost breakdown
Ready to start your own transformation story? The DIY community welcomes your creativity and unique vision. Share your projects using #DIYFurnitureHack – your piece might become someone else’s inspiration!
Conclusion: Start Your Own DIY Furniture Hack Journey Today!
Your home deserves unique pieces that reflect your style and creativity. Refreshing old pieces on a budget using creative hacks isn’t just about saving money – it’s about discovering your artistic potential and making a positive environmental impact.
Start small with a simple paint project, then work your way up to more complex transformations. Each piece you upgrade becomes a testament to your growing DIY skills and design vision. Remember, perfection isn’t the goal – authenticity and personal expression are what matter most.
Ready to begin? Pick one piece from your home, gather your supplies, and let your creativity guide you. Share your journey with our community using #FurnitureHackSuccess – we can’t wait to see your transformations!
Your next masterpiece is waiting in that old dresser, chair, or table. Take the first step today.